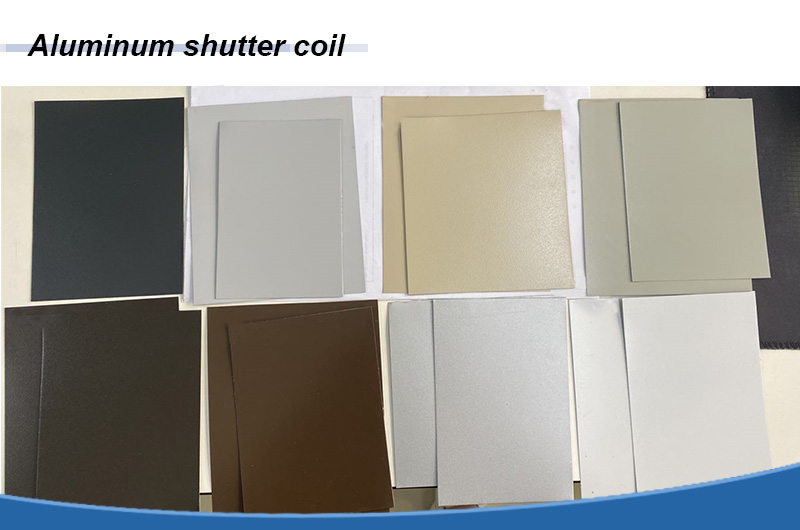
How to Install Rain Gutters in 9 Steps
The rainwater gutter system is an advanced organized drainage system that can effectively and systematically drain rainwater and melted snow water away from the building to prevent damage to the roof, wall and foundation.
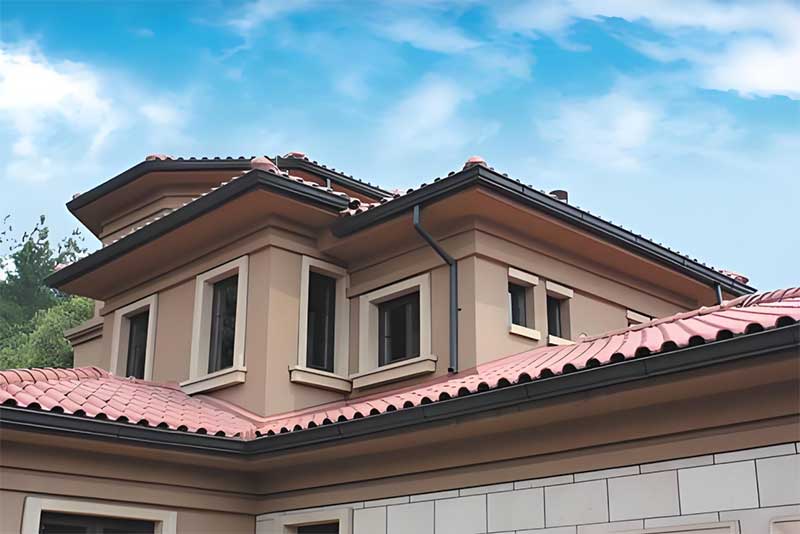
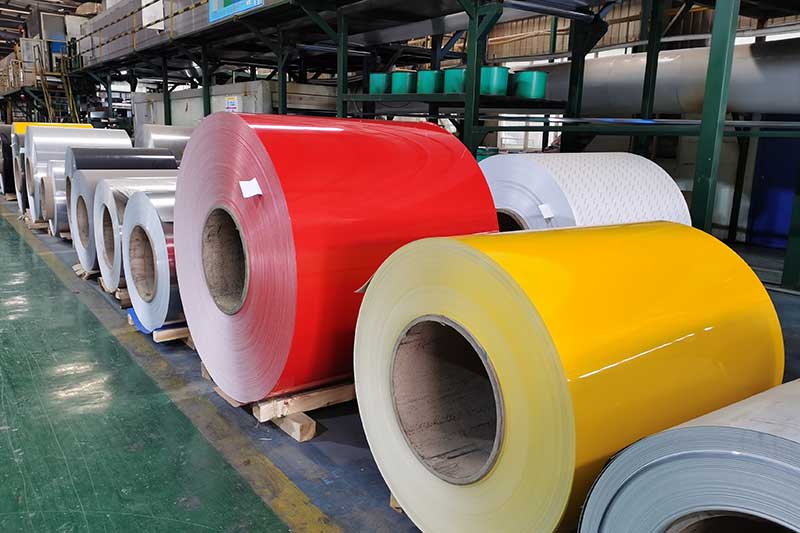
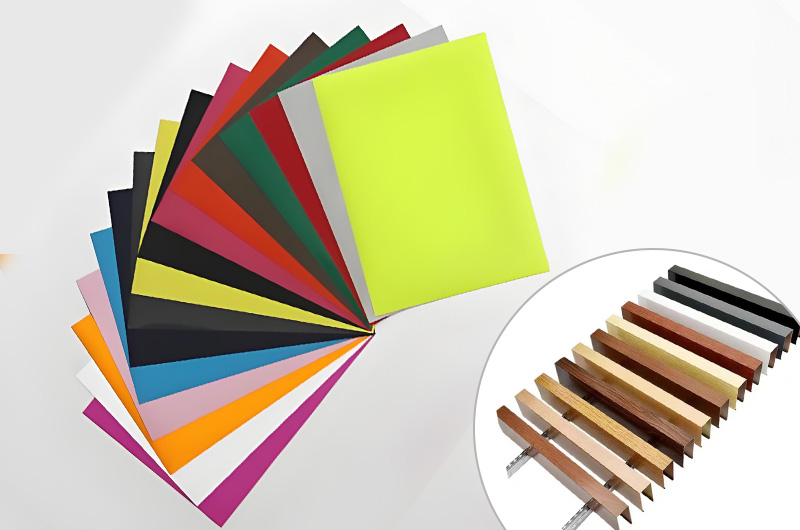
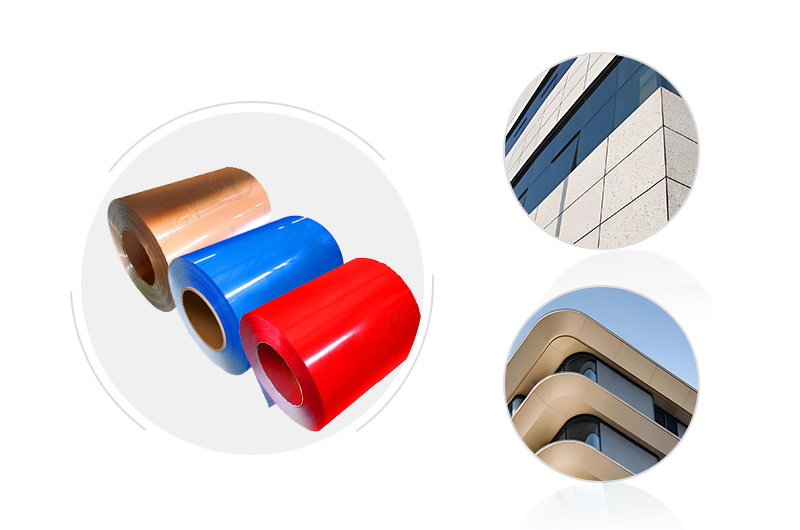
Aluminum alloy gutters are made of seamless gutter aluminum coils that are bent and welded. They have the characteristics of bright colors, good weather resistance, light weight, high strength and easy installation.
This article will introduce you to the step-by-step installation method of the gutter system.
Advantages of the installation method
Quick installation, on-site assembly, easy installation, and time saving.
Good quality and good performance, the printed aluminum gutter structure is reasonably designed, simple and practical, with good toughness and good low-temperature impact resistance.
Green construction, printed aluminum gutters are manufactured in the factory to avoid dust and protect the environment.
Scope of application
This installation method is suitable for the fixed installation of K-type gutters and the installation of semi-circular gutters.
Installation preparation
Technical preparation
Understand the needs and measurements: First, it is necessary to clarify the specific installation requirements, measure the width of the eaves, and record the relevant data in detail.
Confirm installation details: determine the specific location of the drain and downpipe to ensure that the design matches the building structure.
Material preparation
Check the gutter products: ensure that the aluminum alloy gutter products used are qualified, and all accessories such as gutters, hooks, covers, etc. are complete.
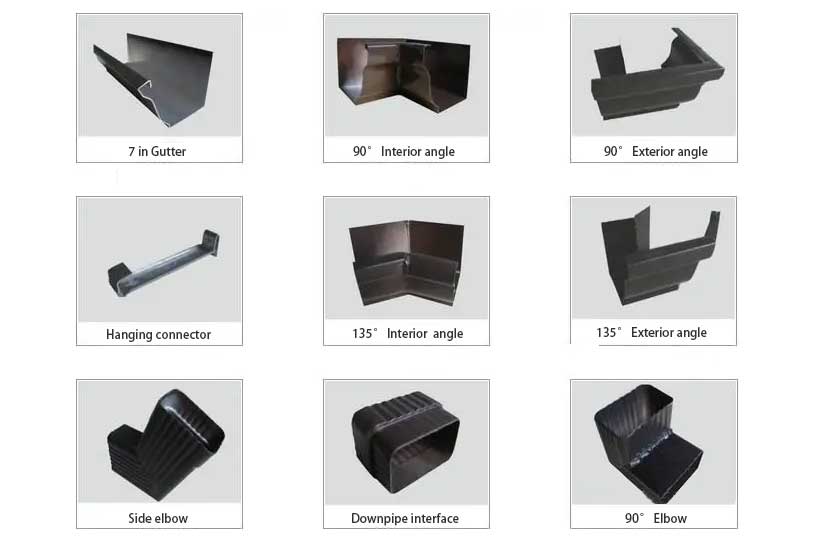
Main accessories:
- Gutter: used to collect rainwater from the roof.
- Gutter hook: fix the gutter to the eaves.
- Gutter cover: close the start and end of the gutter.
- Corner accessories: including 90°and 135°inner and outer angles, used to adapt to different building corners.
- Water retaining plate and leaf retaining net: prevent debris from entering the gutter and ensure smooth drainage.
- Drain and rainwater pipe: guide rainwater to the ground.
- Other accessories: such as rainwater pipe clamps, elbows, tees, etc., are configured according to site needs.
Tool preparation
Basic tools: screwdriver, electric drill, level ruler (Level), etc.
Professional tools:
- Aluminum saw
- Impact drill (8mm)
- Electric drill
- Rivet gun and rivets (3.5mm)
- Glue gun and neutral silicone weatherproof sealant
- Long-nosed pliers, metal scissors, ink box, etc.
Construction steps
Step 1: Horizontal line construction
Determine the installation line
Use a laser leveler or a level ruler to determine the installation line of the gutter, and ensure that the gutter has an appropriate inclination toward the downspout (the recommended slope is 0.2%).
Draw the installation line
Pop up a horizontal auxiliary line 3cm below the eaves, determine the high point according to the position of the downspout, and reduce the slope of 1mm per meter from the high point to the downspout, and use the ink box to draw the installation line of the gutter.
Step 2: Installation construction
Assemble the gutter
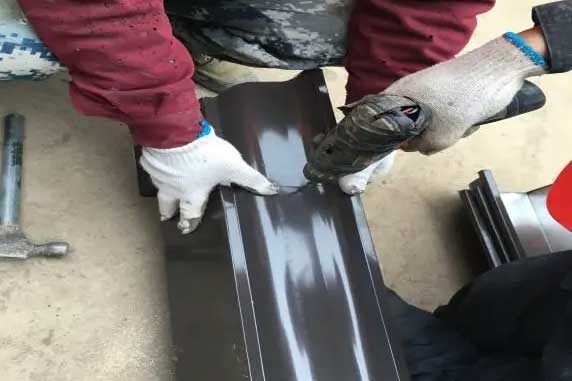
Measurement and cutting: According to the roof shape and measurement data, cut the gutter in sections, ensuring that there is an overlap of 3-5cm between each section.
Connection cut: Make a connection cut at the connecting end of a gutter, usually cutting off 5cm from the top of the end side, and cutting a 5cm long notch along the side of the bottom edge.
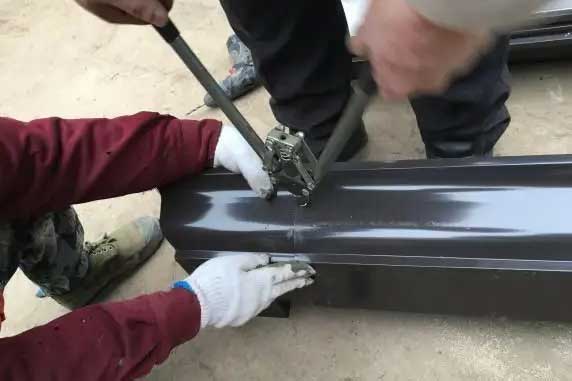
Overlap and riveting: Overlap the gutter with the connection cut on the upper side of the other section, and fix it with rivets in the order of bottom surface first and side edge later.
Gutter corner connection
Consider the corner length: Each 90°outer corner will make the gutter 13cm longer than the eaves, and each 135°outer corner will be 7cm longer.
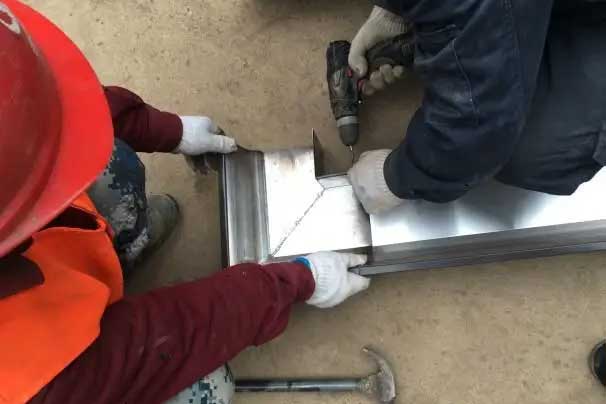
Cut the bevel: Rivet the corner connector to the bevel of the gutter on the ground in advance. When installing, fix one side first and then connect the other side.
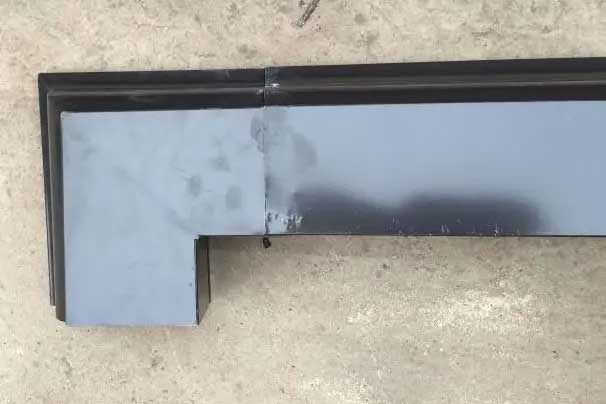
Make the downspout
Determine the position: Draw a rectangle for the downspout on the bottom of the gutter according to the position of the downspout.
Cut and fold: Cut along the diagonal of the rectangle and fold part to the outside of the gutter to connect with the downspout.
Apply sealing silicone
Sealing treatment: Apply neutral silicone weatherproof sealant to the joints and ends of the gutter to ensure the sealing of the joints. After installation, check again and apply additional sealant.
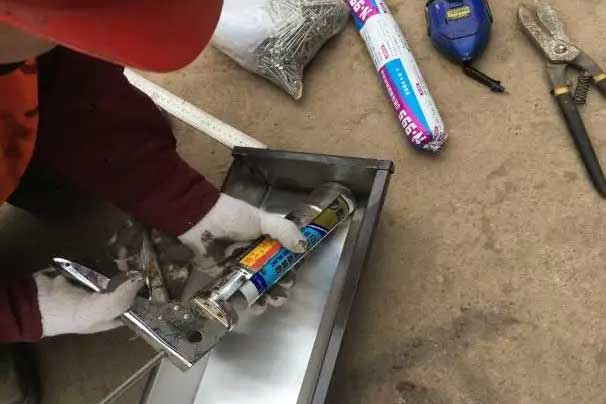
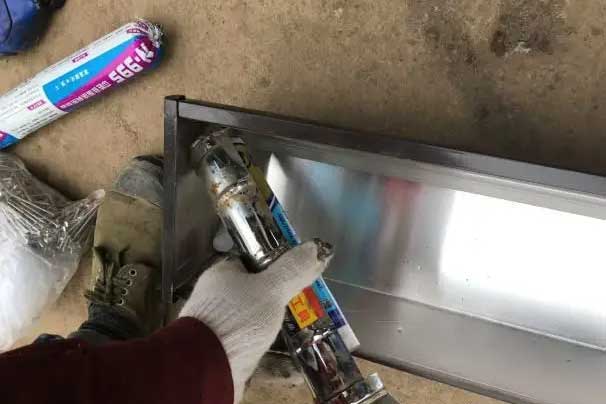
Assemble the cover
Fix the cover: Add a cover to the end of the gutter and fix it with 3 rivets on the front, bottom and back.
Assemble the hook
Determine the number and position: Determine the number of hooks according to the length of the gutter, usually starting at 15cm from the end, and the maximum spacing between two hooks does not exceed 6cm.
Add hooks: Add hooks at corners, joints and drains to ensure the stability of the fixation.
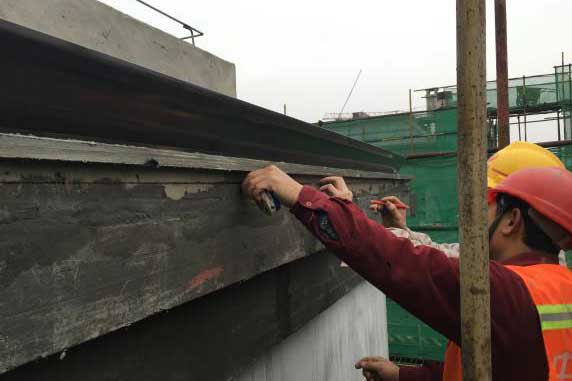
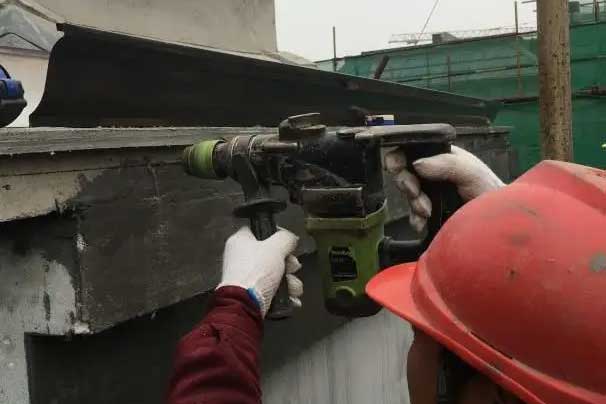
Step 3: Fix the gutter
Drilling and fixing
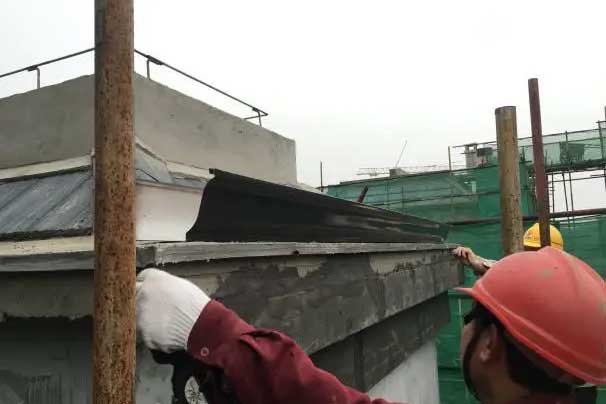
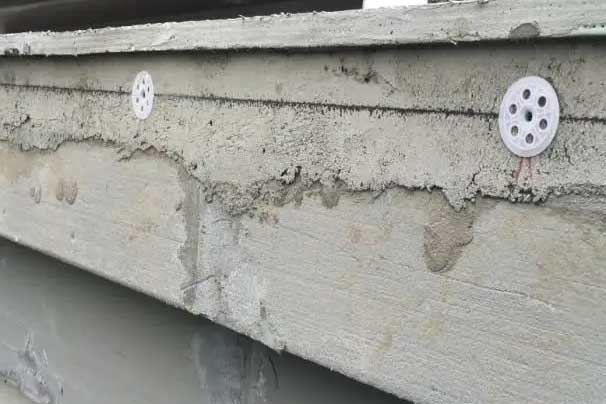
Use an impact drill (φ8 drill bit) to drill holes in the inner wall of the gutter along the installation line, ensuring that the hole depth is not less than 5cm.
Use a plastic expansion tube to fix the gutter on the eaves so that the upper edge of the inner wall of the gutter is flush with the installation line.
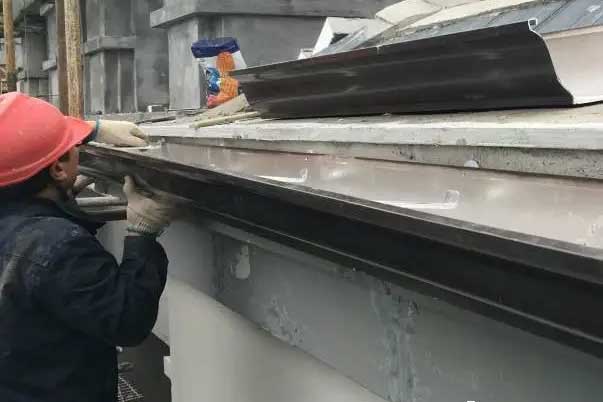
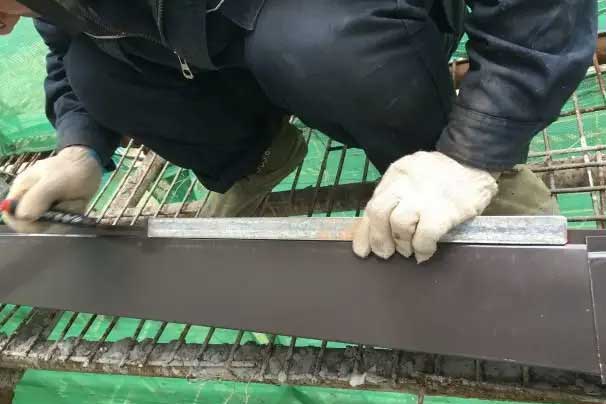
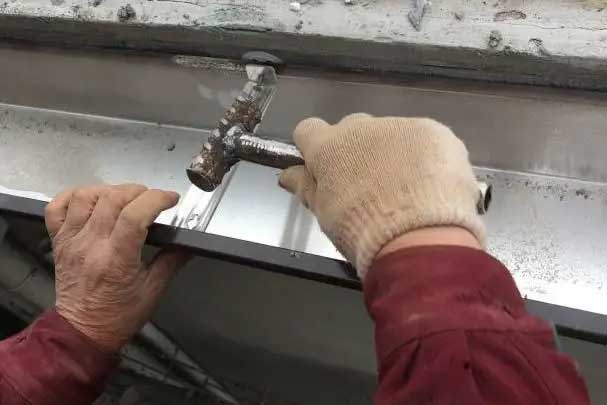
Different structural treatments
If the eaves are made of solid wood, you can use a curved hook to directly penetrate the inner wall of the eaves gutter and fix it on the eaves.
If the eaves have an external insulation layer, the plastic expansion tube needs to be lengthened according to the thickness of the insulation layer to ensure that the hole depth entering the cement layer is not less than 5cm.
Step 4: Downpipe installation
Drawing lines and fixing
Use an ink cartridge to draw the installation line of the downpipe to ensure that it is vertical.
Install the pipe clamp, drill the expansion hole after determining the position, and fix the pipe clamp with a spacing of 0.8-1m, and set a pipe clamp 200mm from the ground.
Connect the gutter and downpipe
Use the pipe clamp to fix the downpipe to ensure the stability of the connection.
Step 5: Water retaining board and wire mesh installation
Water retaining board: installed between the eaves and the gutter to effectively prevent water splashing into the house and protect the eaves.
Wire mesh (leaf retaining board): keep the gutter clean, prevent clogging by leaves and other debris, and ensure the smoothness of the drainage system.
Step 6: Joint sealing treatment
Inspection and repair: After the gutter is spliced, the joints are immediately sealed with sealant. If there is slight damage or micro cracks during the installation process, they need to be repaired and improved in time.
Step 7: Water filling test
Test purpose: to ensure the sealing and drainage function of the gutter system.
Operation steps:
- Fill the downpipe with water after blocking it.
- Keep it for 24 hours and then check it.
- If unqualified parts are found, repair them immediately and test again.
Step 8: Inspection and acceptance
Only after the water filling test is qualified can the acceptance be carried out to ensure that the entire system has no leakage, no blockage, and smooth drainage.
Step 9: Finished product protection
Avoid arbitrary cutting or rough construction during the installation process to keep the appearance neat and tidy.
Especially during the removal of the scaffolding, focus on protecting the gutter to prevent damage.
